Contacts & Teams
Contacts
The Primary contact
By default, the primary contact is the user who created the account in our Customer Center. If you haven't done so yet, you can sign up here. Please fill in the required information and submit.
Important
The primary contact is always the first point of contact should a critical incident on your environment occur.
Now you can log into the Hosted Power Customer Center.
Our customer center enables you to:
- Manage contact information
- Add billing information
- Follow-up on your support tickets
- Purchase or transfer domain names
- Assign rights to various contacts
- Add SSH users, configure SSL certificates
- etc...
Adding new contacts
Now it's time to add your extra contacts. Technical colleagues, billing contacts etc...
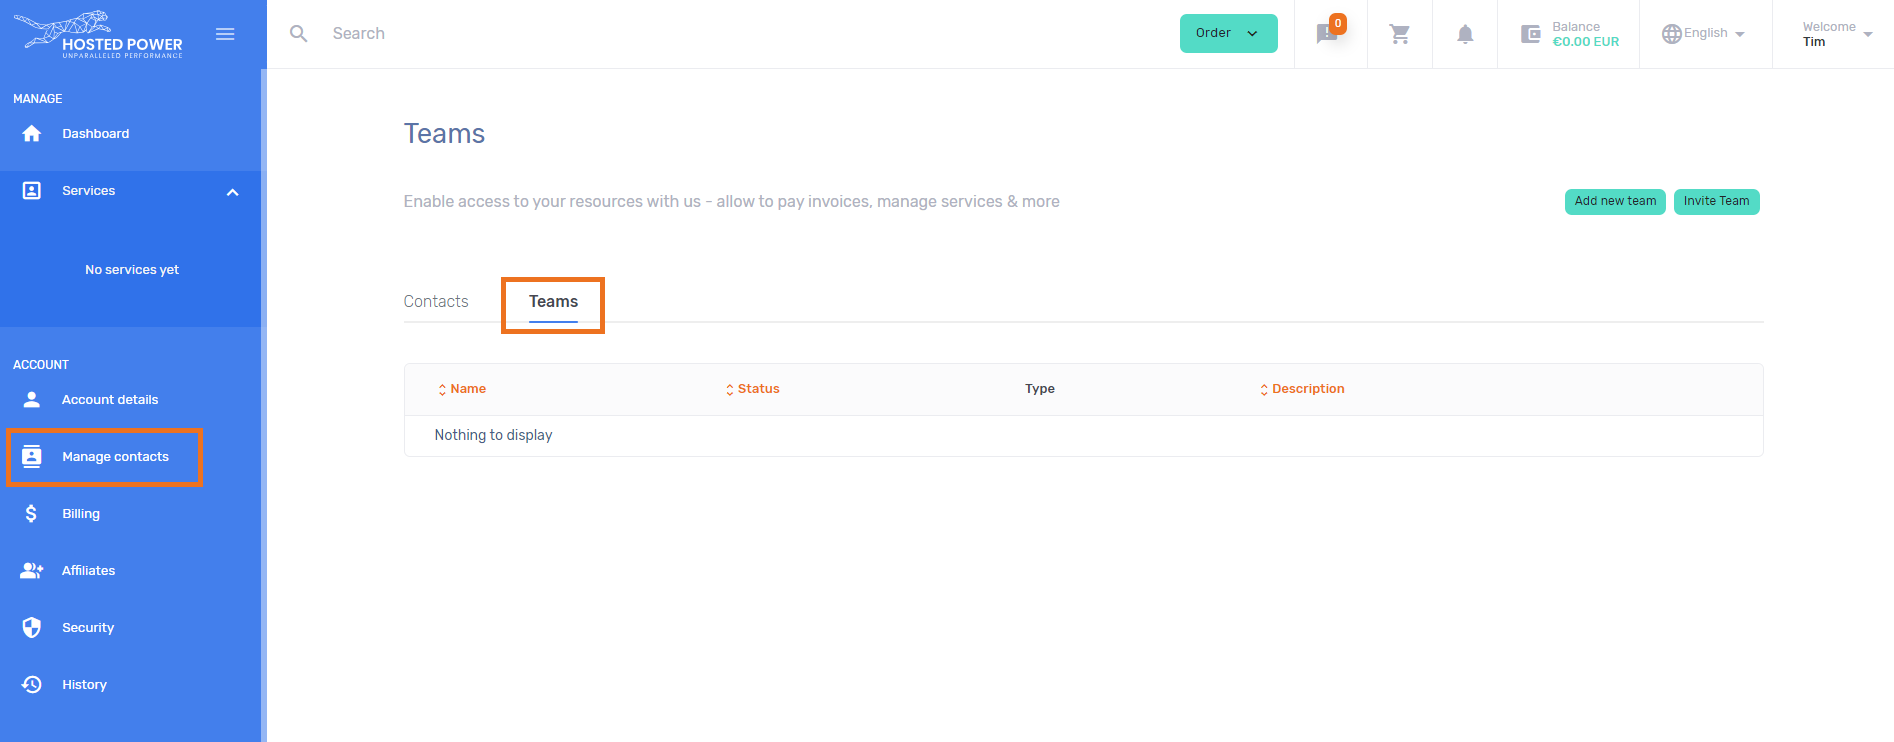
In the Customer Center, navigate to Manage contacts. Here you can add your relevant contacts.
May we emphasize this step is extremely important for Hosted Power to be able to reach the correct people in every situation, so take your time to do this thoroughly if possible. You'll thank us later!
On the invite tab, you also have the option to invite existing contacts, e.g. an external consultant.
Teams
Add new teams
Navigate to Teams tab. Here you can create your own teams, e.g. Dev, Billing, Agency, etc.
Invite external Teams
If you have a new partner requiring access to your environment, you have the possibility to invite an existing team. You can also easily remove teams from your environment.
Contacts/Teams permission management
You have the choice to either manage the rights of single contacts or whole teams. Hosted Power advises to implement the "Teams" logic, even if you have only one person in this team. It makes management a lot easier in the future.
For your colleagues to be able to log in to the TurboStack Platform, you need to give them access here.
Assigning permissions
The access you can give an individual contact and a team are exactly the same, only the individual contact doesn't have a team invite code.
To start changing permissions, click on the team or contact.
Under 'Status' you can choose whether or not the team or contact is active. When closed, all permissions will be denied, until activated again.
Under the Save Changes button, are some handy presets for you to choose from. These will autimatically set all permissions for the predefined roles.
If you need more granular control over these permissions, you can always go down a bit and manage these permissions manually.
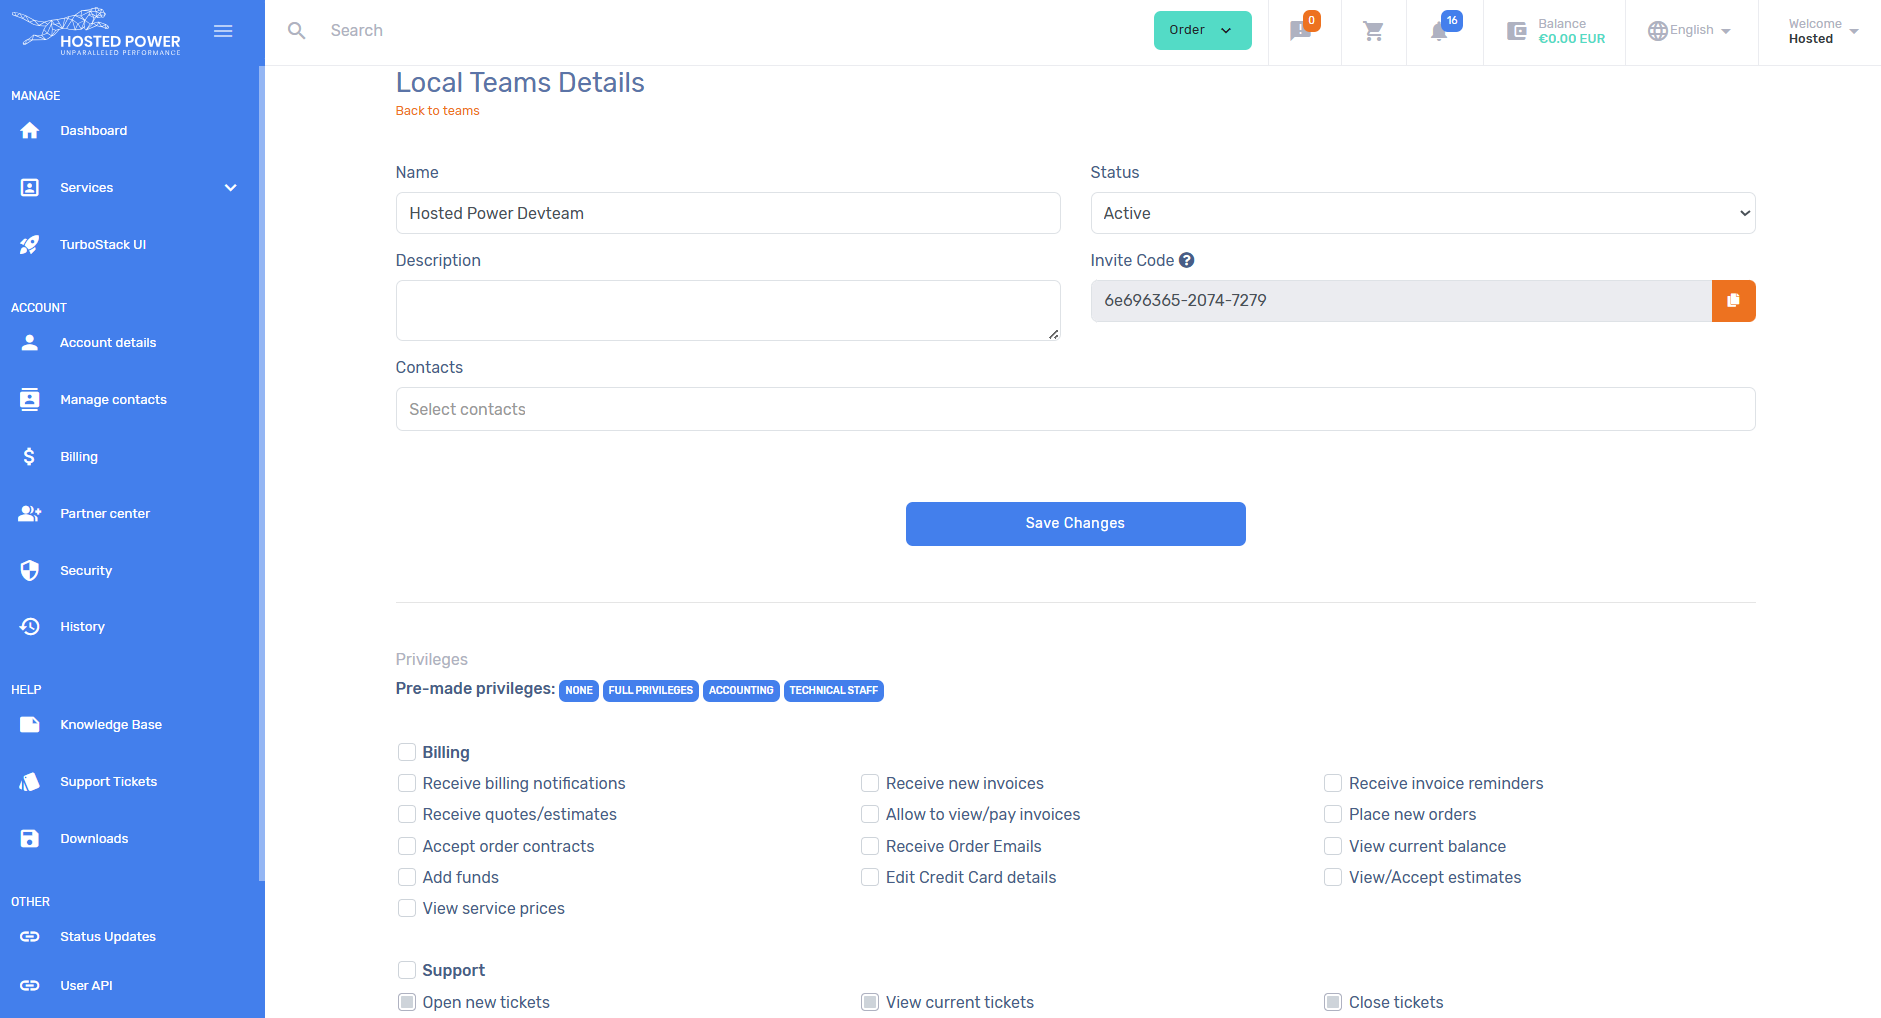
In the granular controls, you will have the option to choose specific permissions per category, like opening tickets, but not receive email notifications for them.
