
Configure RabbitMQ on TurboStack
Enable RabbitMQ for an application and, where needed, tune the broker version and plugins at the host level.
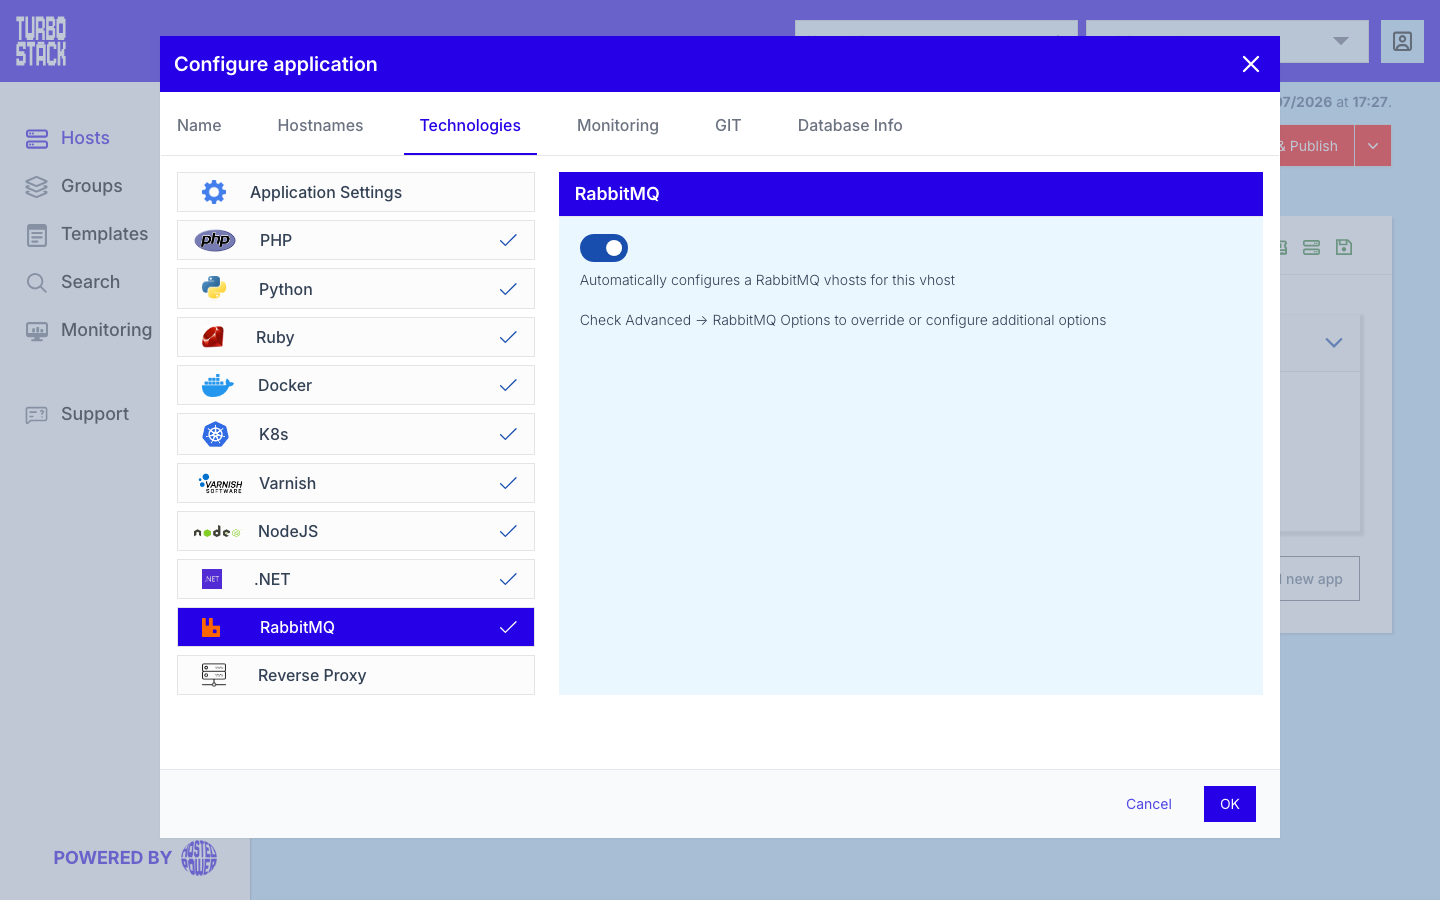
Where to configure it
RabbitMQ is enabled per application. Open the application, go to Configure application > Technologies > RabbitMQ, and turn it on.
Broker-level options live with the host. Open the host and go to the Advanced >
RabbitMQ Options tab to set any plugins. The RabbitMQ version (rabbitmq_version)
is not a field there - set it via the Source (YAML) view.
YAML configuration
Required
Optional
There are no optional YAML keys for the application. RabbitMQ plugins (rabbitmq_plugins) are selected in the GUI under host Advanced > RabbitMQ Options; the version (rabbitmq_version) is set via the host's Source (YAML) view.
The management interface is always enabled, so you never have to add it to the list yourself. Removing a plugin from the list disables it again on the next deployment.
# Per-application application configuration
rabbitmq_enabled: true
Tip
The version and plugins are host-level advanced settings shared by the applications on that host. Only enable the plugins your application needs.
Connect your application
Enabling RabbitMQ on an application creates two things for its system user:
-
a virtual host named after the system user (
prod), or<user>_<app>for a second application under the same user (prod_shop); -
a RabbitMQ user with the same name as the system user, with full rights on that virtual host and on nothing else.
Both are on the host's Credentials tab under the system user, as RabbitMQ vhost, RabbitMQ
user and RabbitMQ password. The same values are written to ~/.rabbitmq.yml in the system
user's home directory, readable by that user only. A deploy script can read them there, so you do
not have to store a copy elsewhere.
The broker is reachable from the server itself; port 5672 is not open to the internet. Use this
connection string in your application:
amqp://<user>:<password>@localhost:5672/<vhost>Open the management interface
The management interface is available on every host that runs the broker, at
https://<your-host>/rabbitadm/. Two logins protect it:
-
The browser asks for a login first. Use your system user and its password from the Credentials tab.
-
RabbitMQ then shows its own login. Use the RabbitMQ user and RabbitMQ password from the same tab.
Your RabbitMQ user is not an administrator, so the interface shows your own virtual host only. Use it to read queue depth and consumer counts, and to follow message rates. To empty a queue that keeps growing, open Queues and streams, open the queue, then Purge.
From the shell, tscli rabbitmq queue list <vhost> lists the queues in your virtual host as
JavaScript Object Notation (JSON), ready for use in scripts - see the
TurboStack CLI.