Setup
This article explains how to set up your application environment from scratch. If you want to replicate an existing environment, or want to migrate an application from an external server to TurboStack, please consult the Account Cloning and Migration Hero articles respectively.
info
New servers can also be autoconfigured using Templates! Visit this page for more information.
What is an account and what is it used for?
The account is a Linux user which can be used simply to access the server. However, you probably want to deploy one or multiple applications under this user. This guide will explain how to deploy system users and all settings your application requires.
For staging and production instances of an application, best practice is always to use an entirely different server, because it's by design unavoidable that resources allocated for staging, will be (silently) "taken away" from production. Even when this staging application is rarely used, it would still consume memory for e.g. databases, causing avoidable overhead.
Creating a new account
Deploying a new account in the GUI
- Open the TurboStack Platform
- Open the server management console in the Hosts section
-
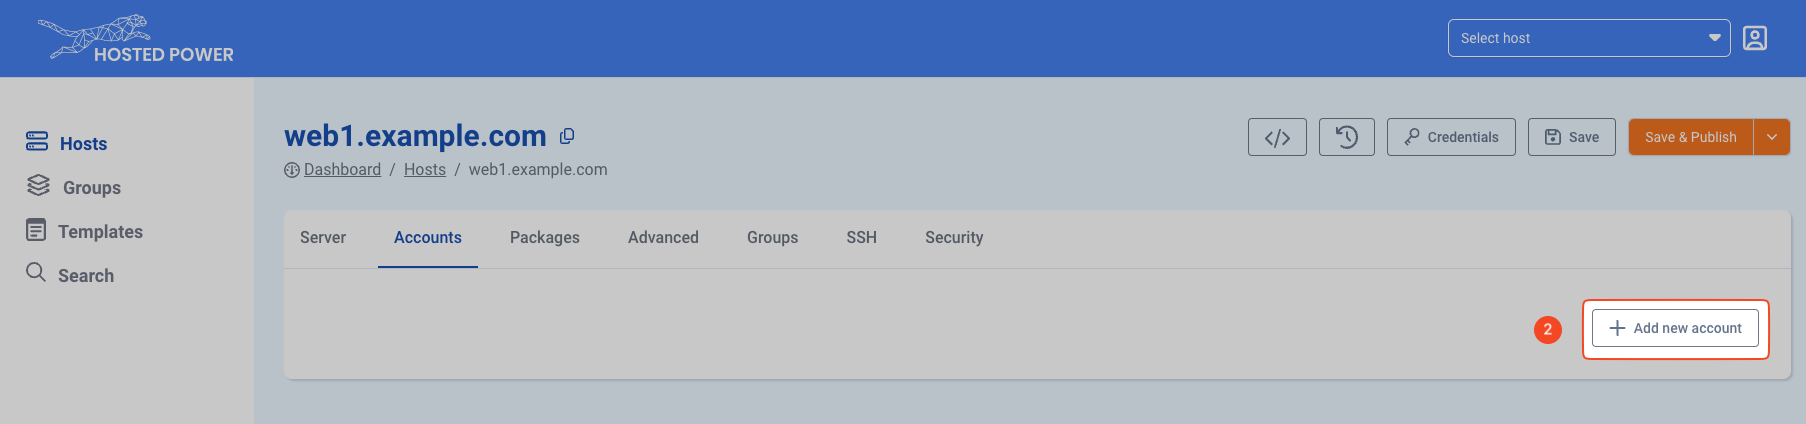
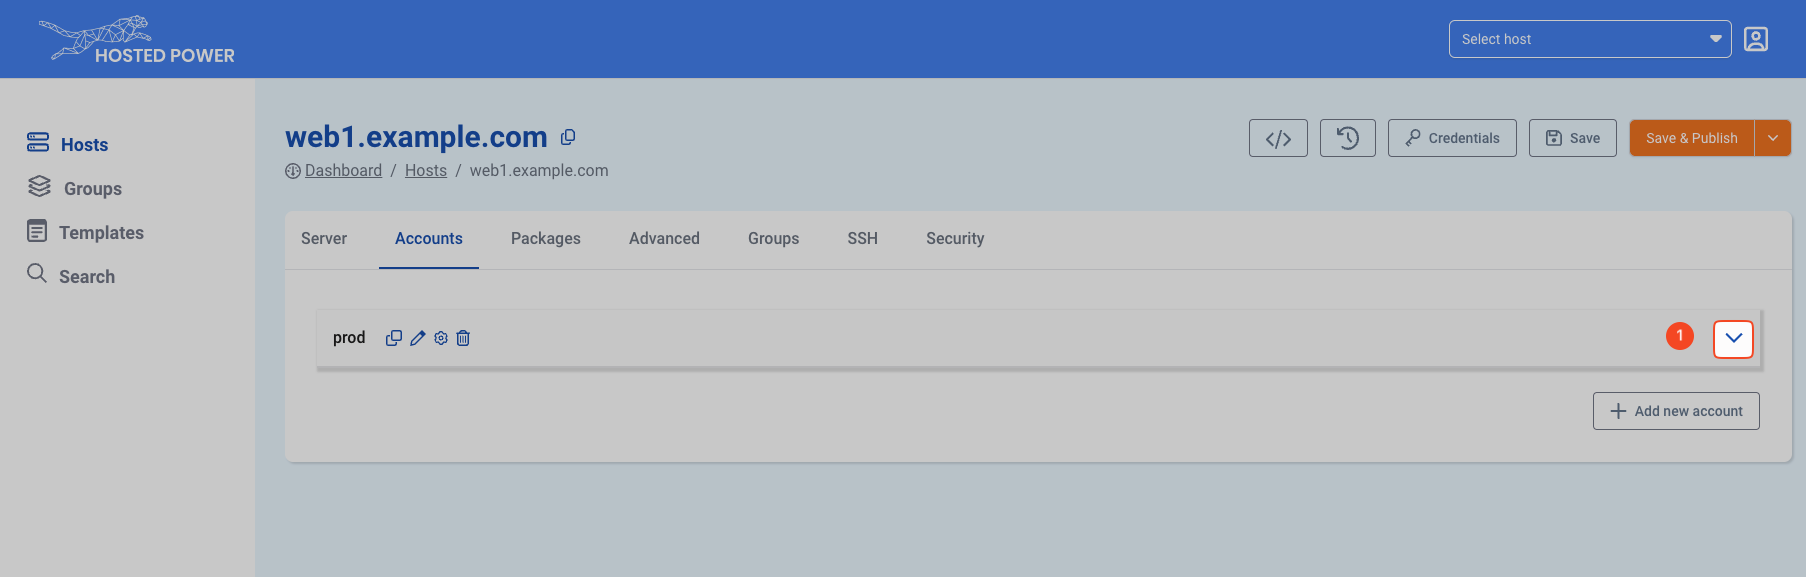
Go to the Accounts page

-
Click Add new account
-
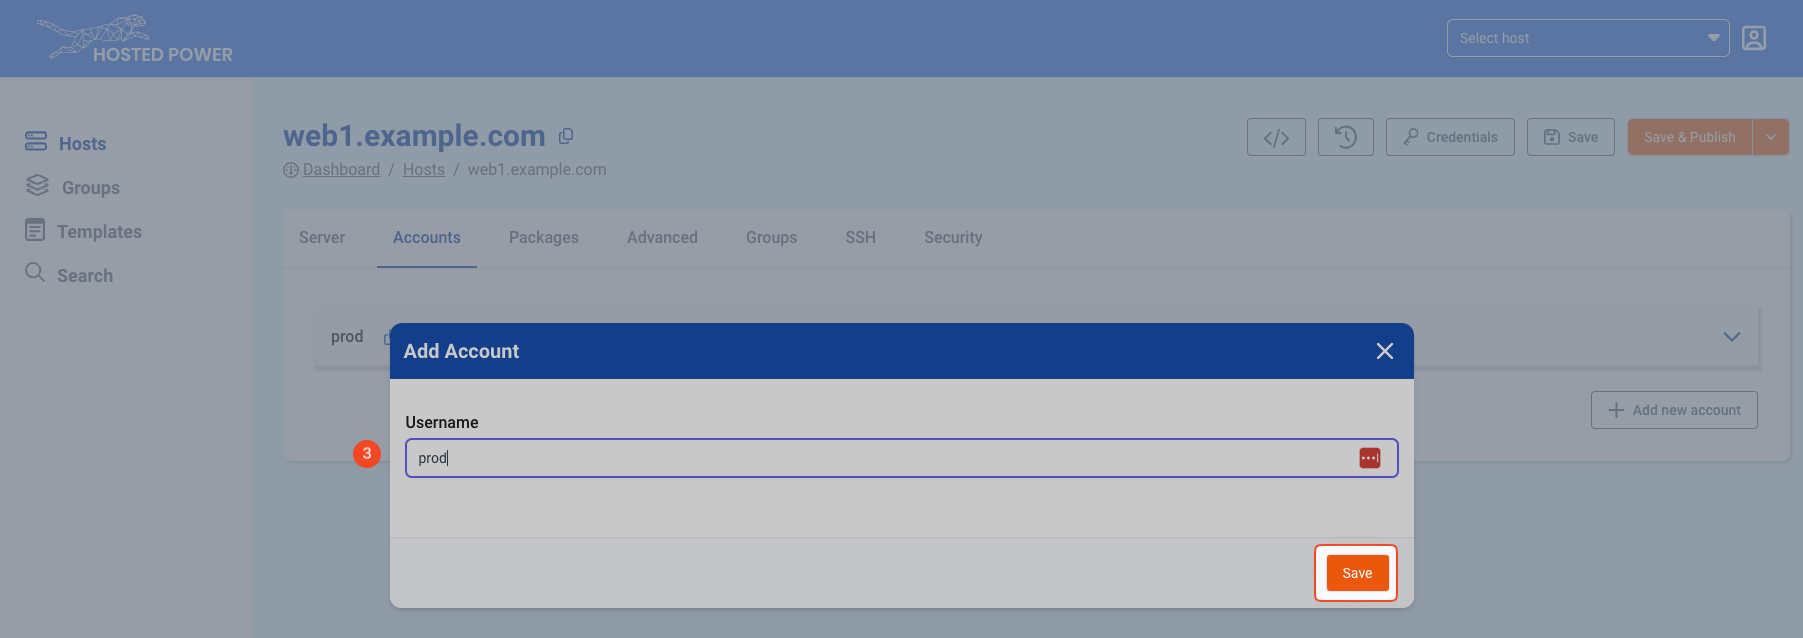
Give the account a username and save
-
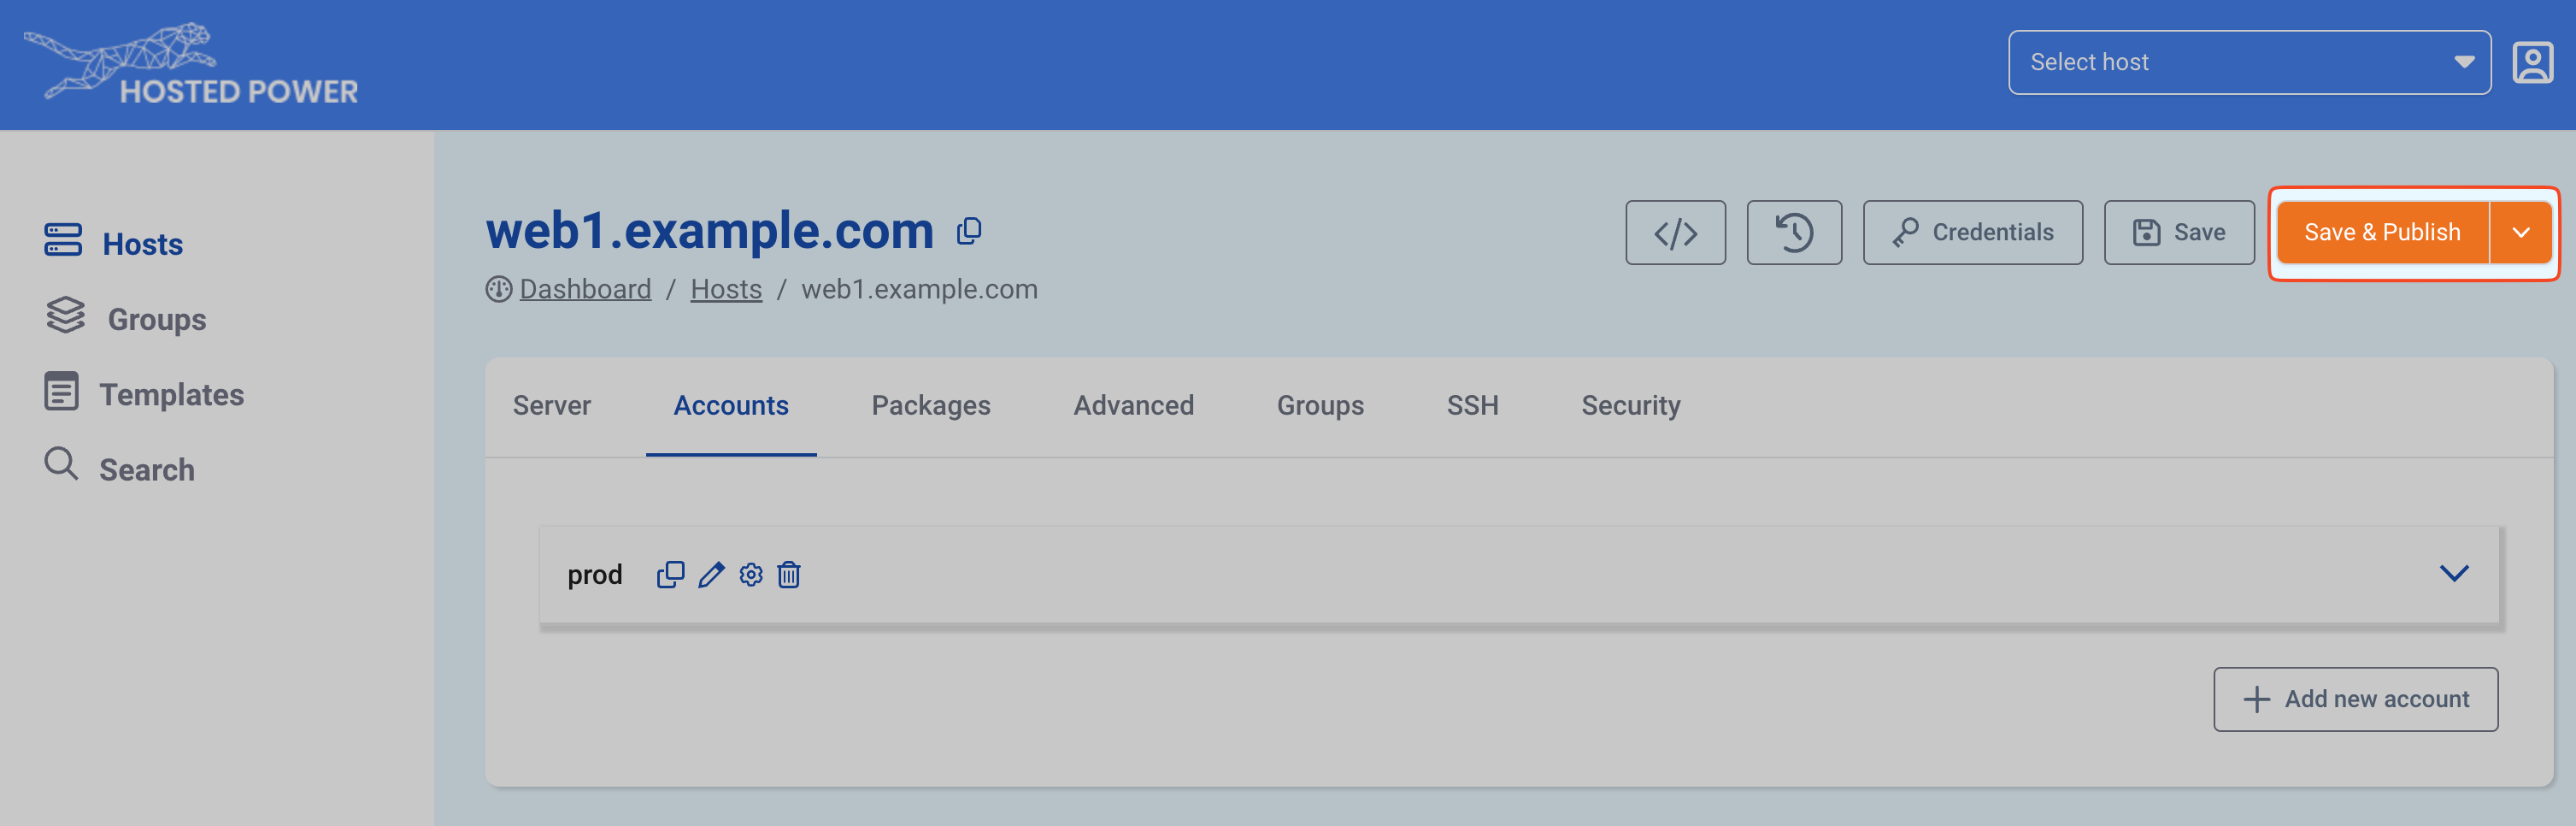
Save and Publish will deploy the change to the host
Deploying a new account in the source YAML Advanced
Advanced users can also deploy an account in the source YAML
system_users:
  - username: prod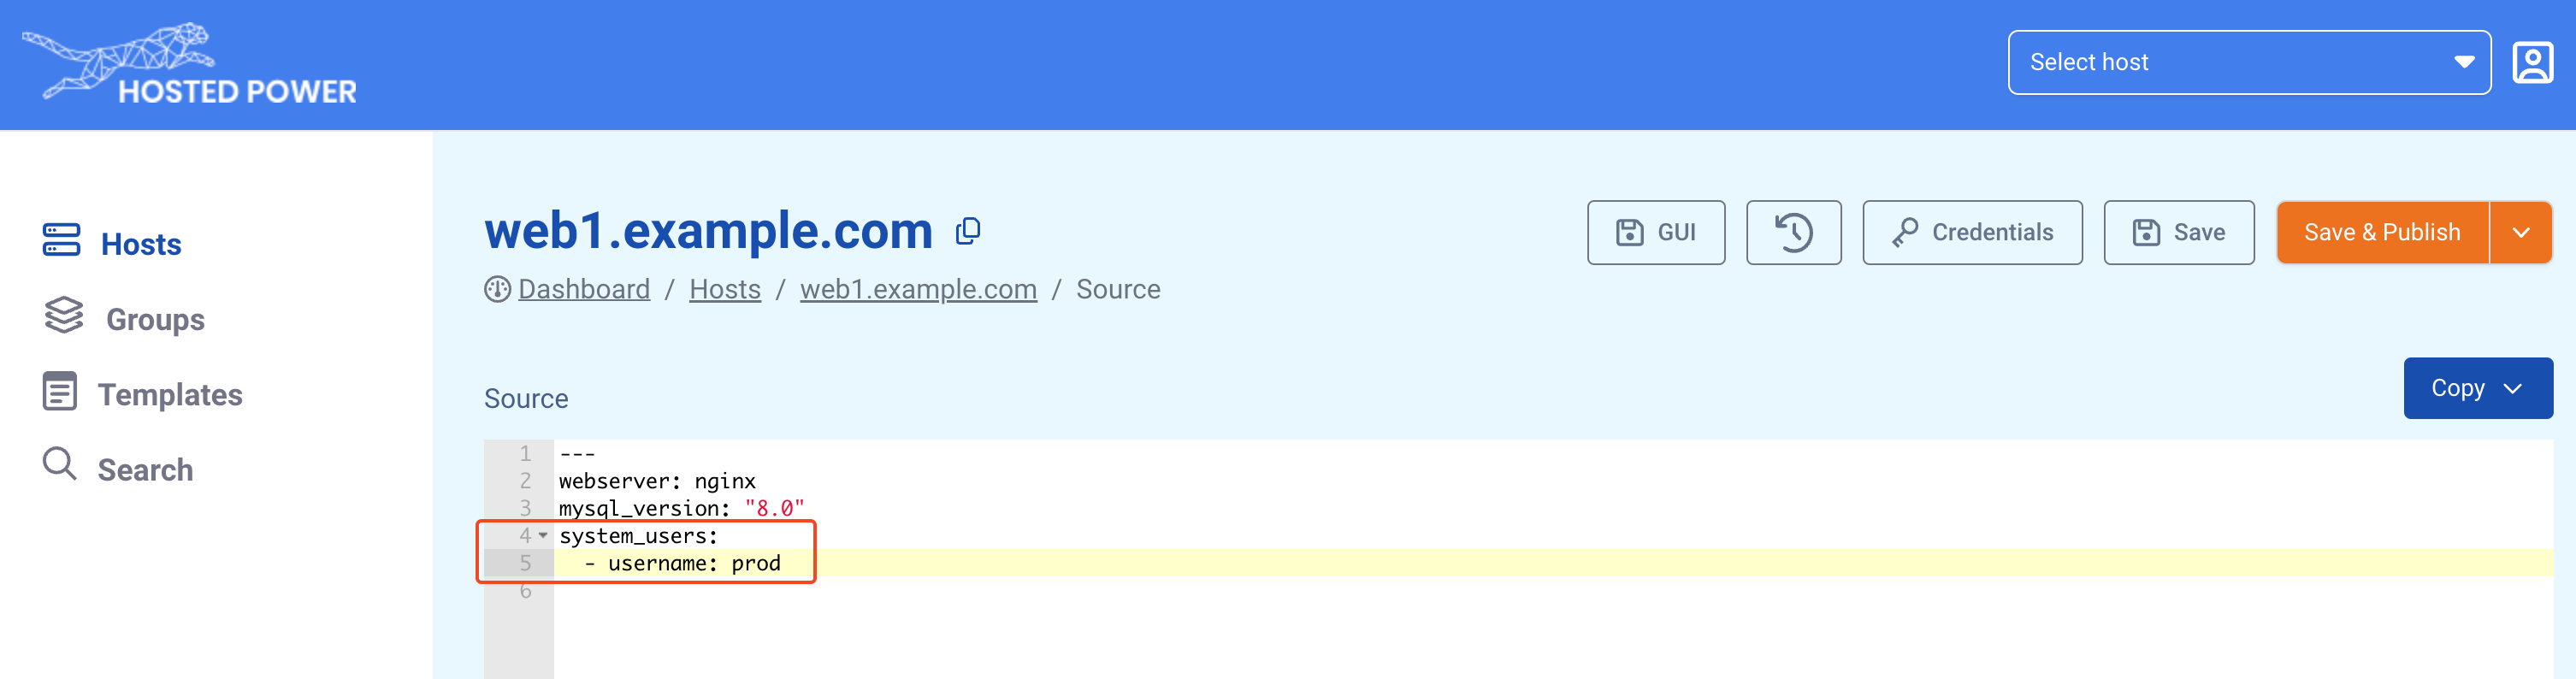
More info on using the YAML editor can be found here.
Creating a new application
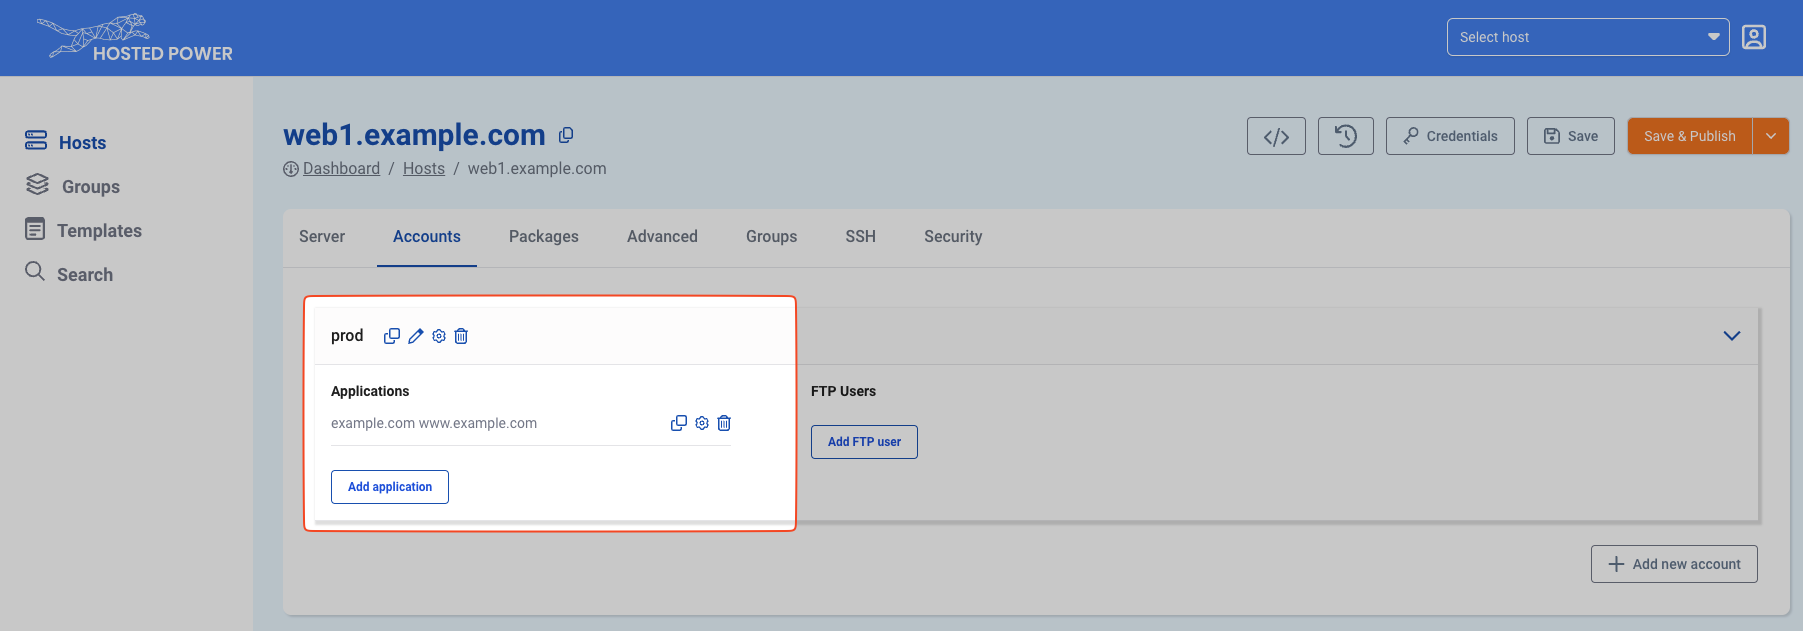
Creating a new application in the TurboStack Platform GUI
Creating a new (default) application under the newly created prod user.
-
Open the detail section for the user.
-
Click Add app or database
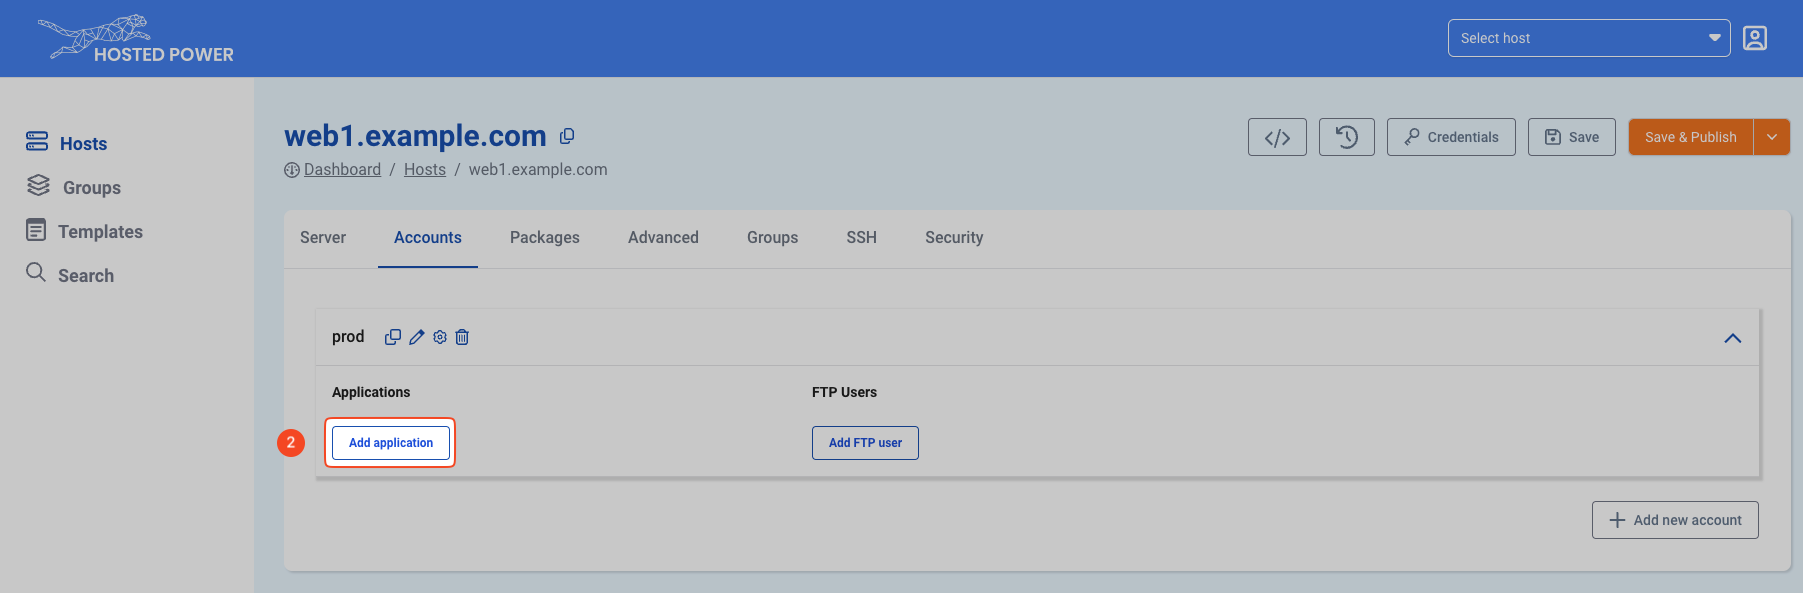
-
The first application for each user should always be default.
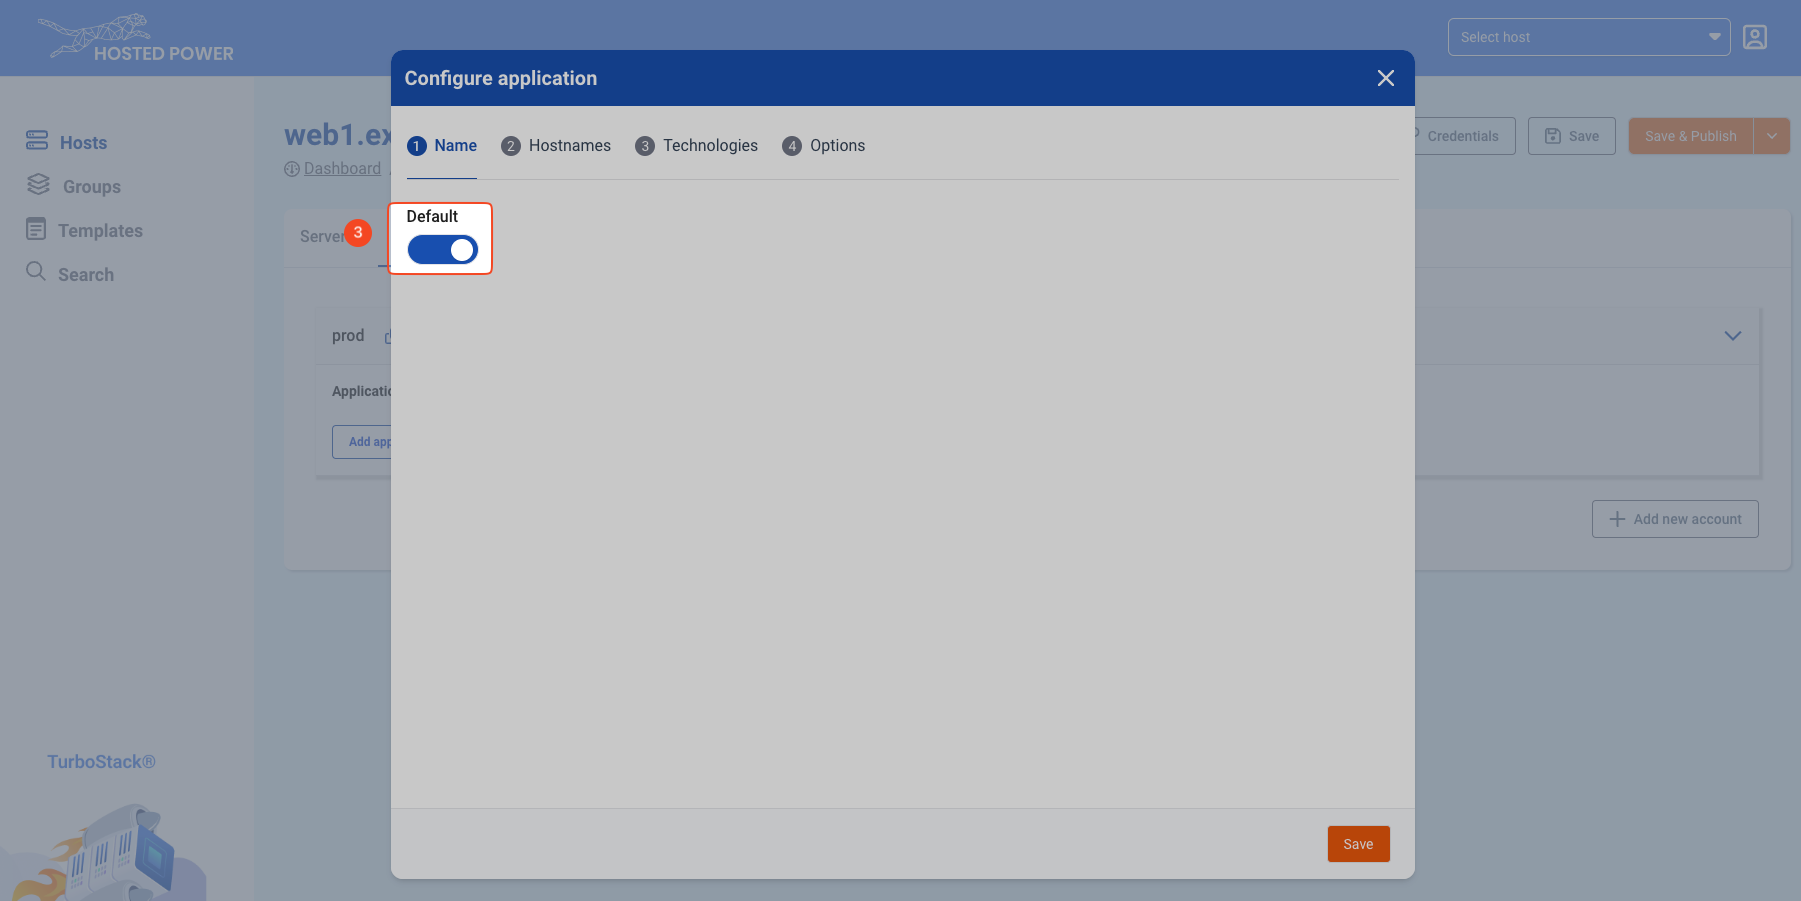
-
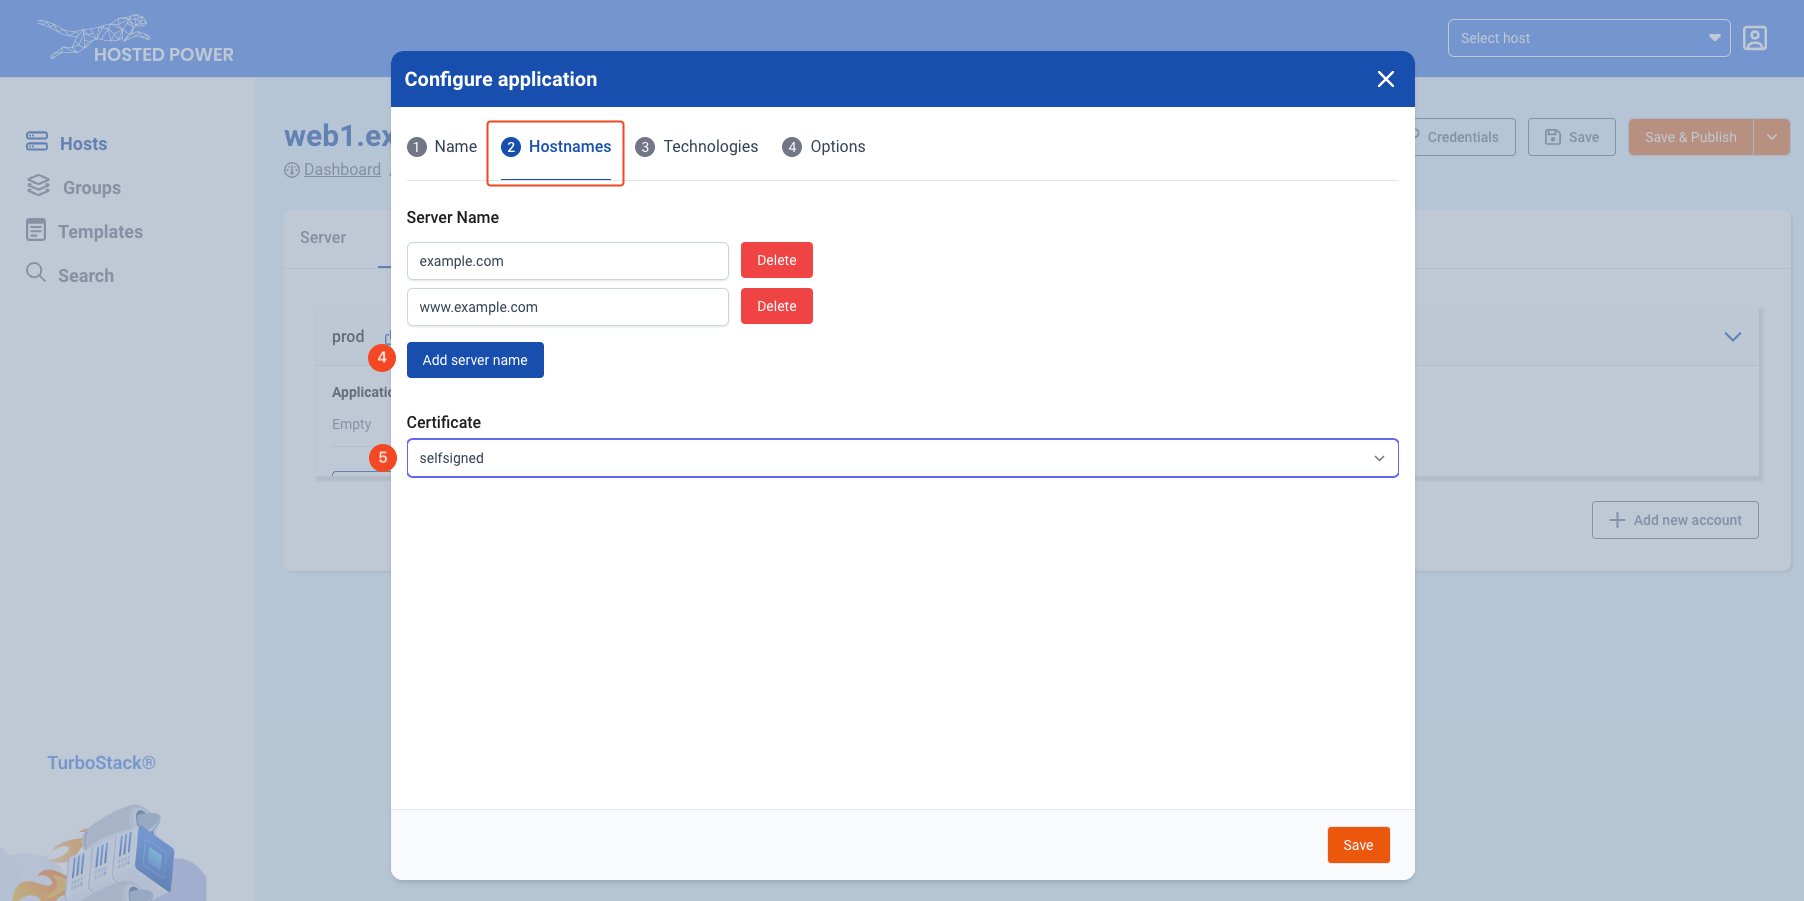
Fill in 1 or more hostnames your application will listen on.
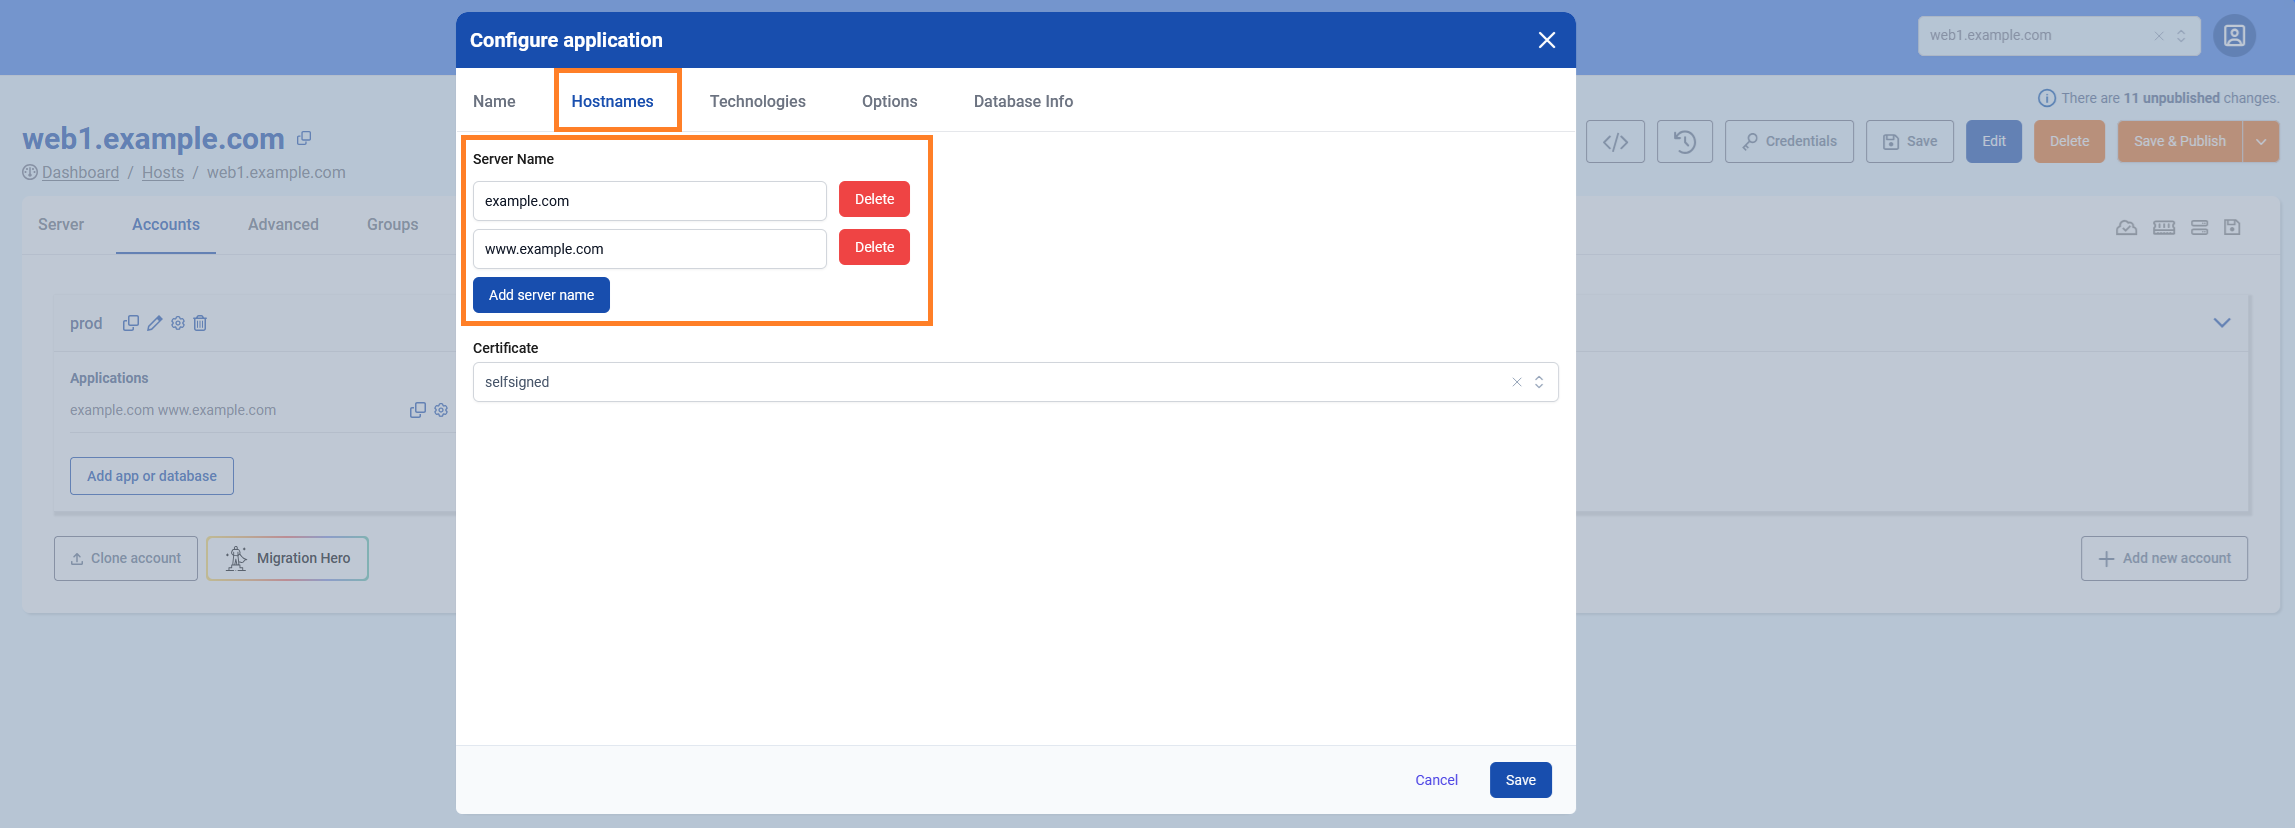
-
Choose an SSL certificate, there are 3 options: letsencrypt(default), self-signed and custom (3rd party certificate).
info
Let's Encrypt certificates can only be validated if the selected hostnames already have the proper DNS settings to point them to the server. If this condition is not met, the validation will fail, and publishing will throw an error! If you cannot adjust DNS, but you do need HTTPS, you can choose a self-signed certificate and change it to Let's Encrypt whenever you're ready.
info
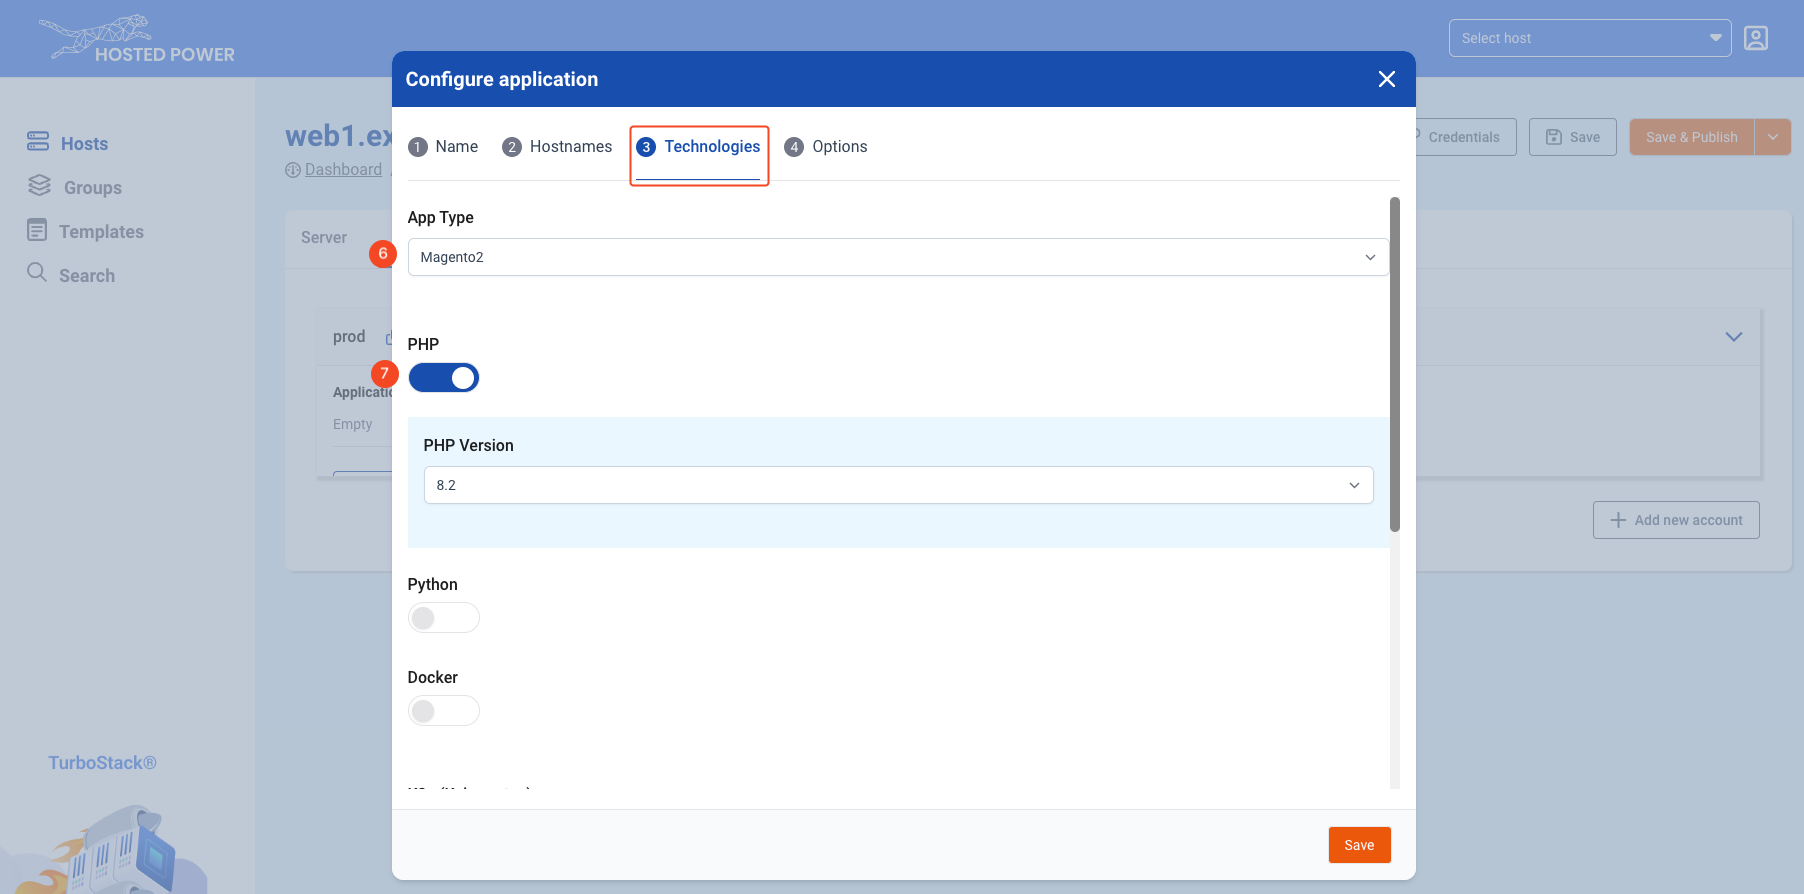
The app type should match the CMS or framework that will be installed on this environment, and automatically applies some application-specific configuration. Can't find your CMS of framework in this list? Contact us!
-
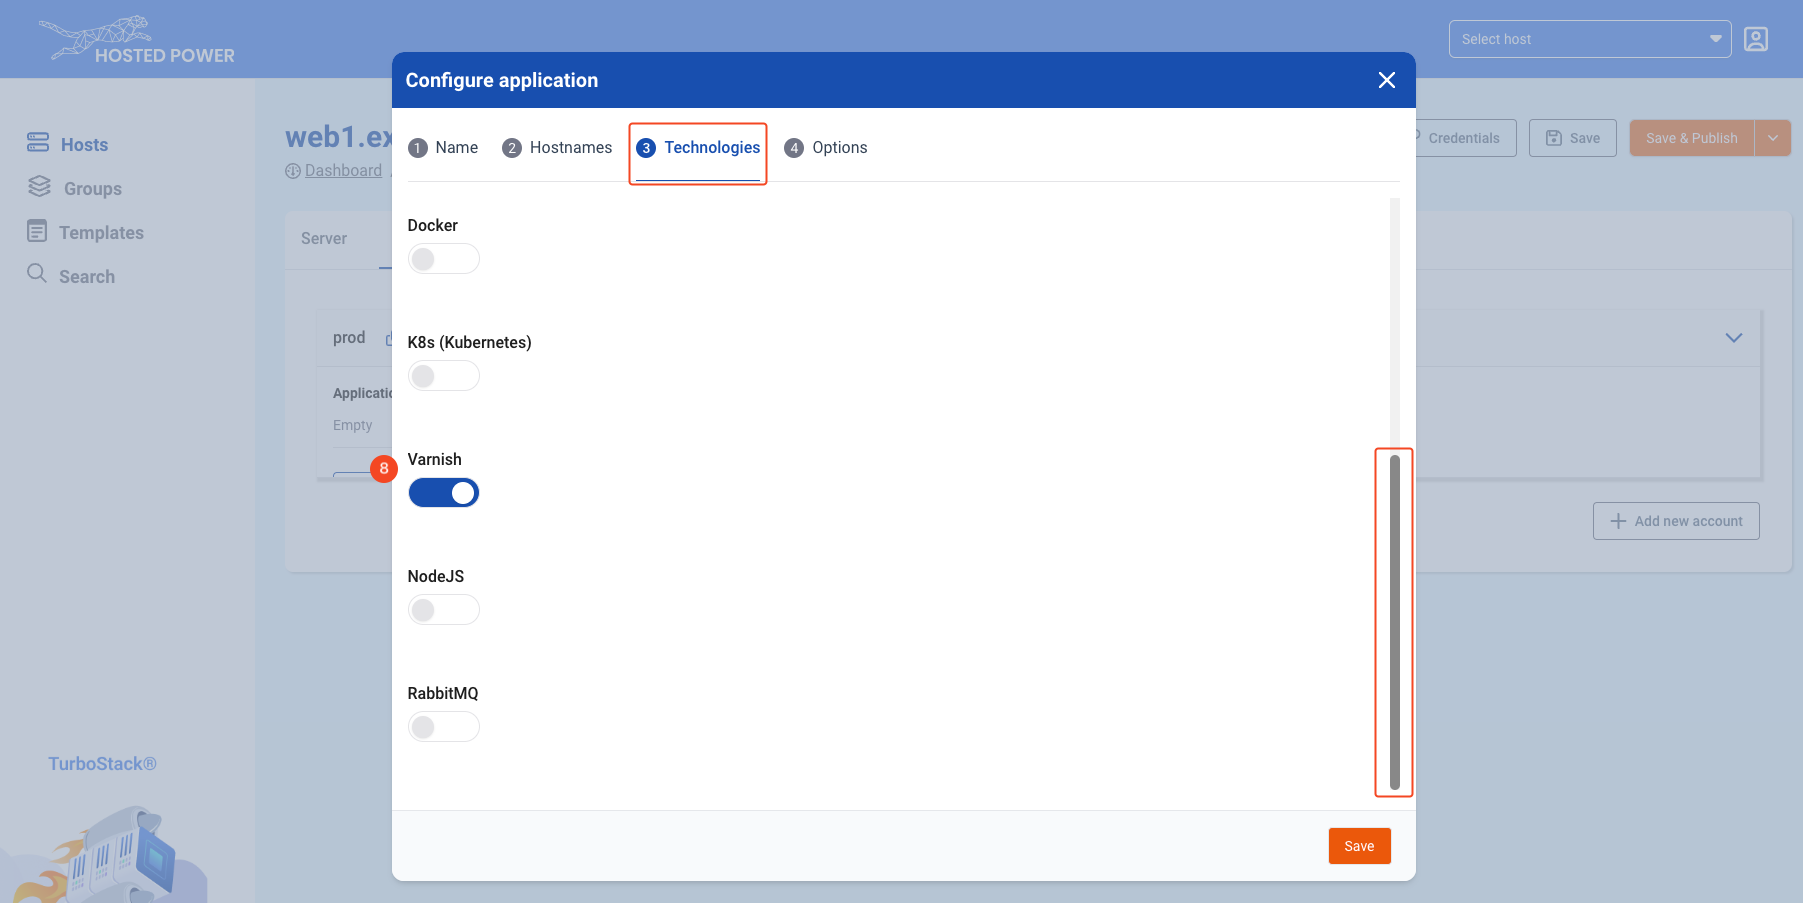
Enable all technologies that your application requires. This section is updated regularly, so keep an eye on our changelog!
-
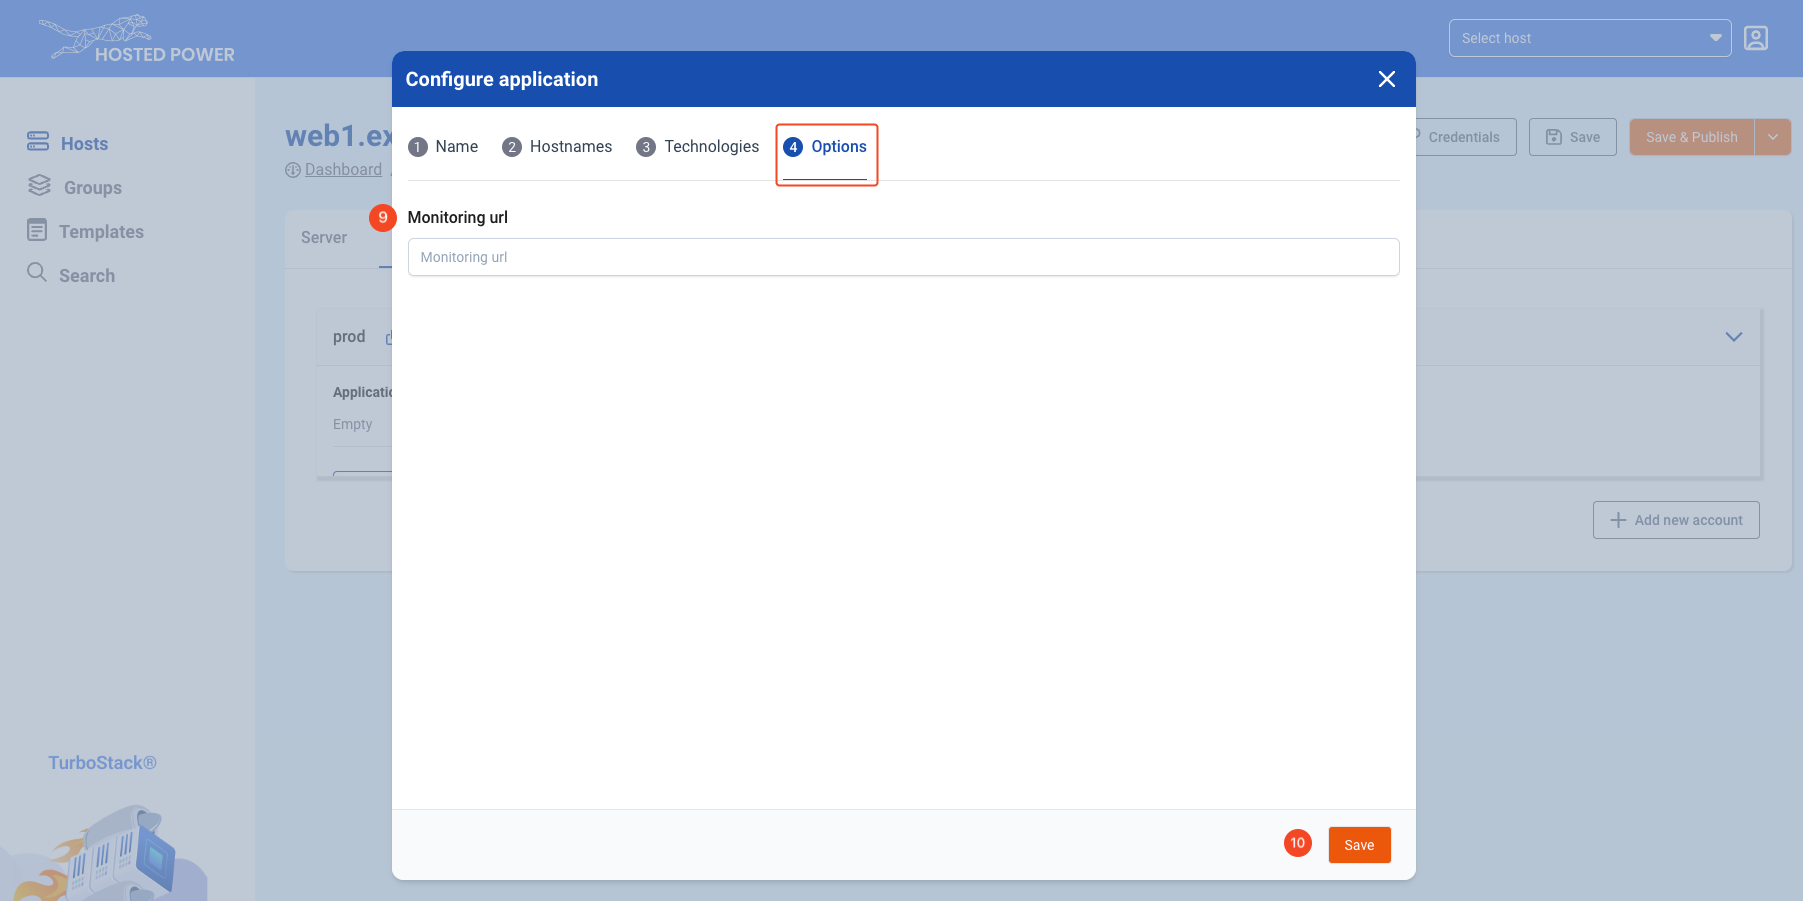
When going live, set a monitoring url so Hosted Power will monitor 24/7.
-
Click Save to save and exit the configuration wizard.
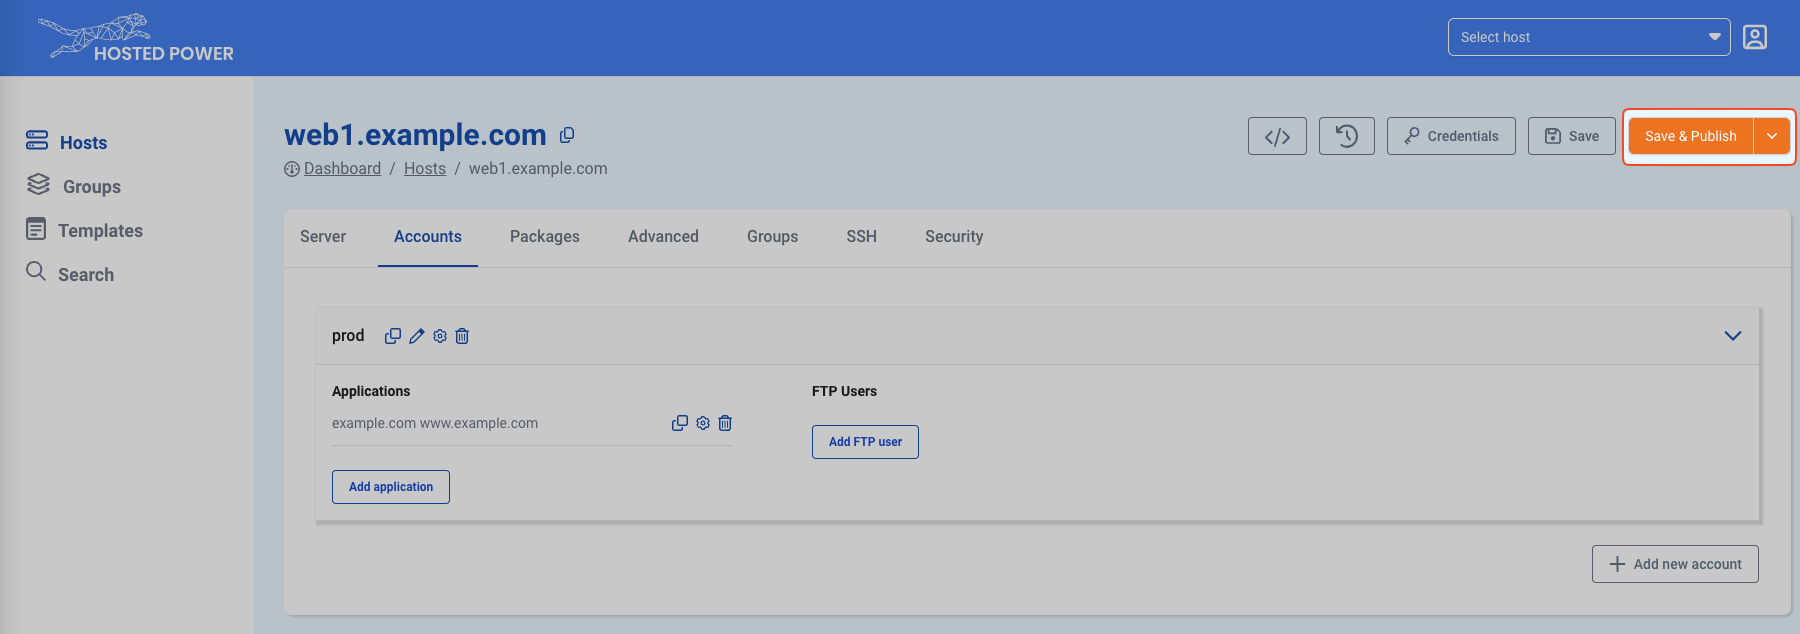
-
Finally, click Save & Publish to push your configuration to the server.
Please note that two more publishing options are available:
- Save & Full Publish: Redeploy the whole server configuration as opposed to only the changes
- Save, Delete & Full Publish: Same as Save & Full Publish, but is required when explicitly deleting certain configs. You will be prompted to verify this option by typing 'DELETE' as a failsafe.
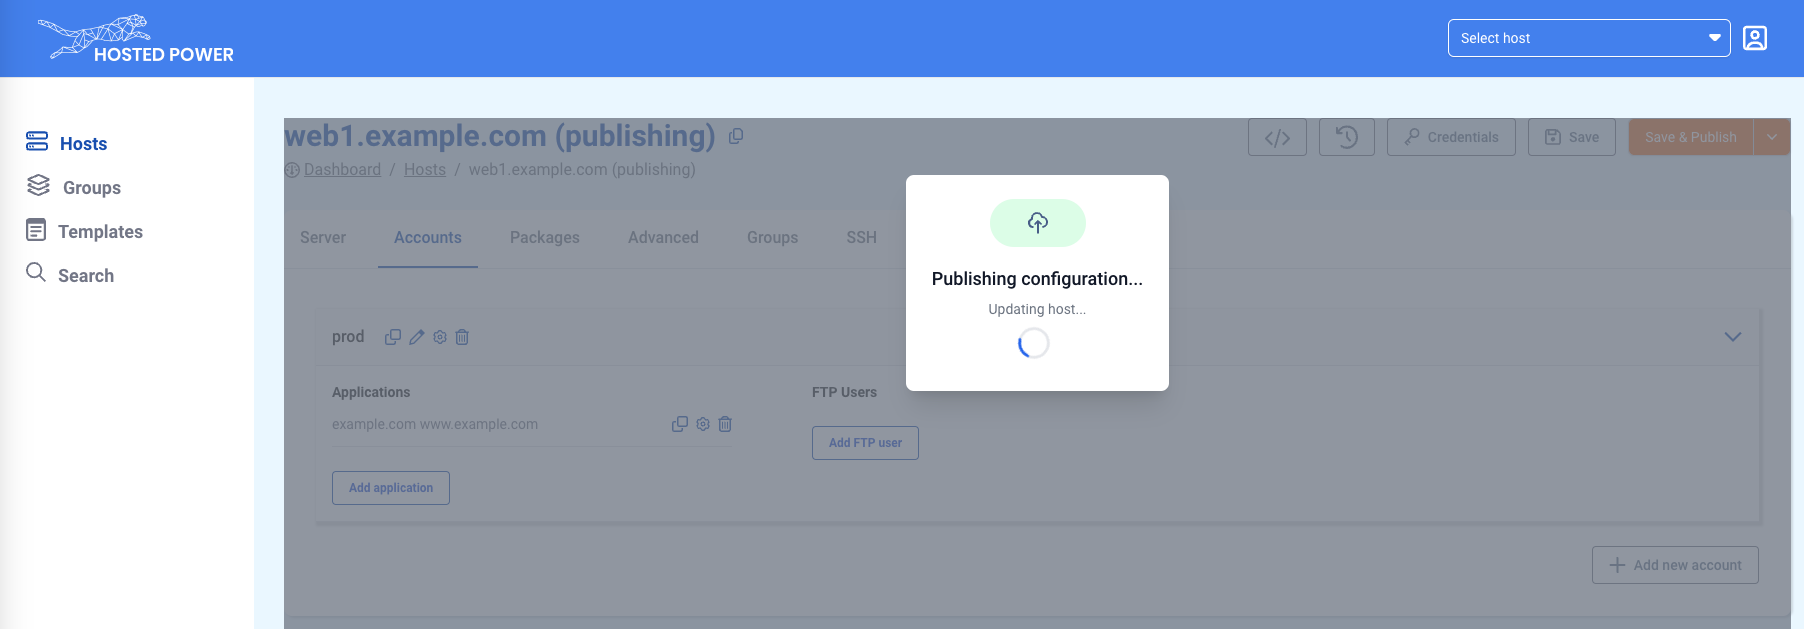
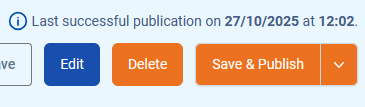
info
Depending on the volume and impact of changes, publishing can take some time! When the publication of your TurboStack has completed successfully, a message indicating so with a timestamp will appear in the top right corner:
Creating a new application in source code mode (YAML) Advanced
Advanced users can also deploy an application in the source YAML:
system_users:
  - username: prod
    vhosts:
      - server_name: example.com www.example.com
        app_type: magento2
        php_version: "8.2"
        varnish_enabled: true
        cert_type: self-signed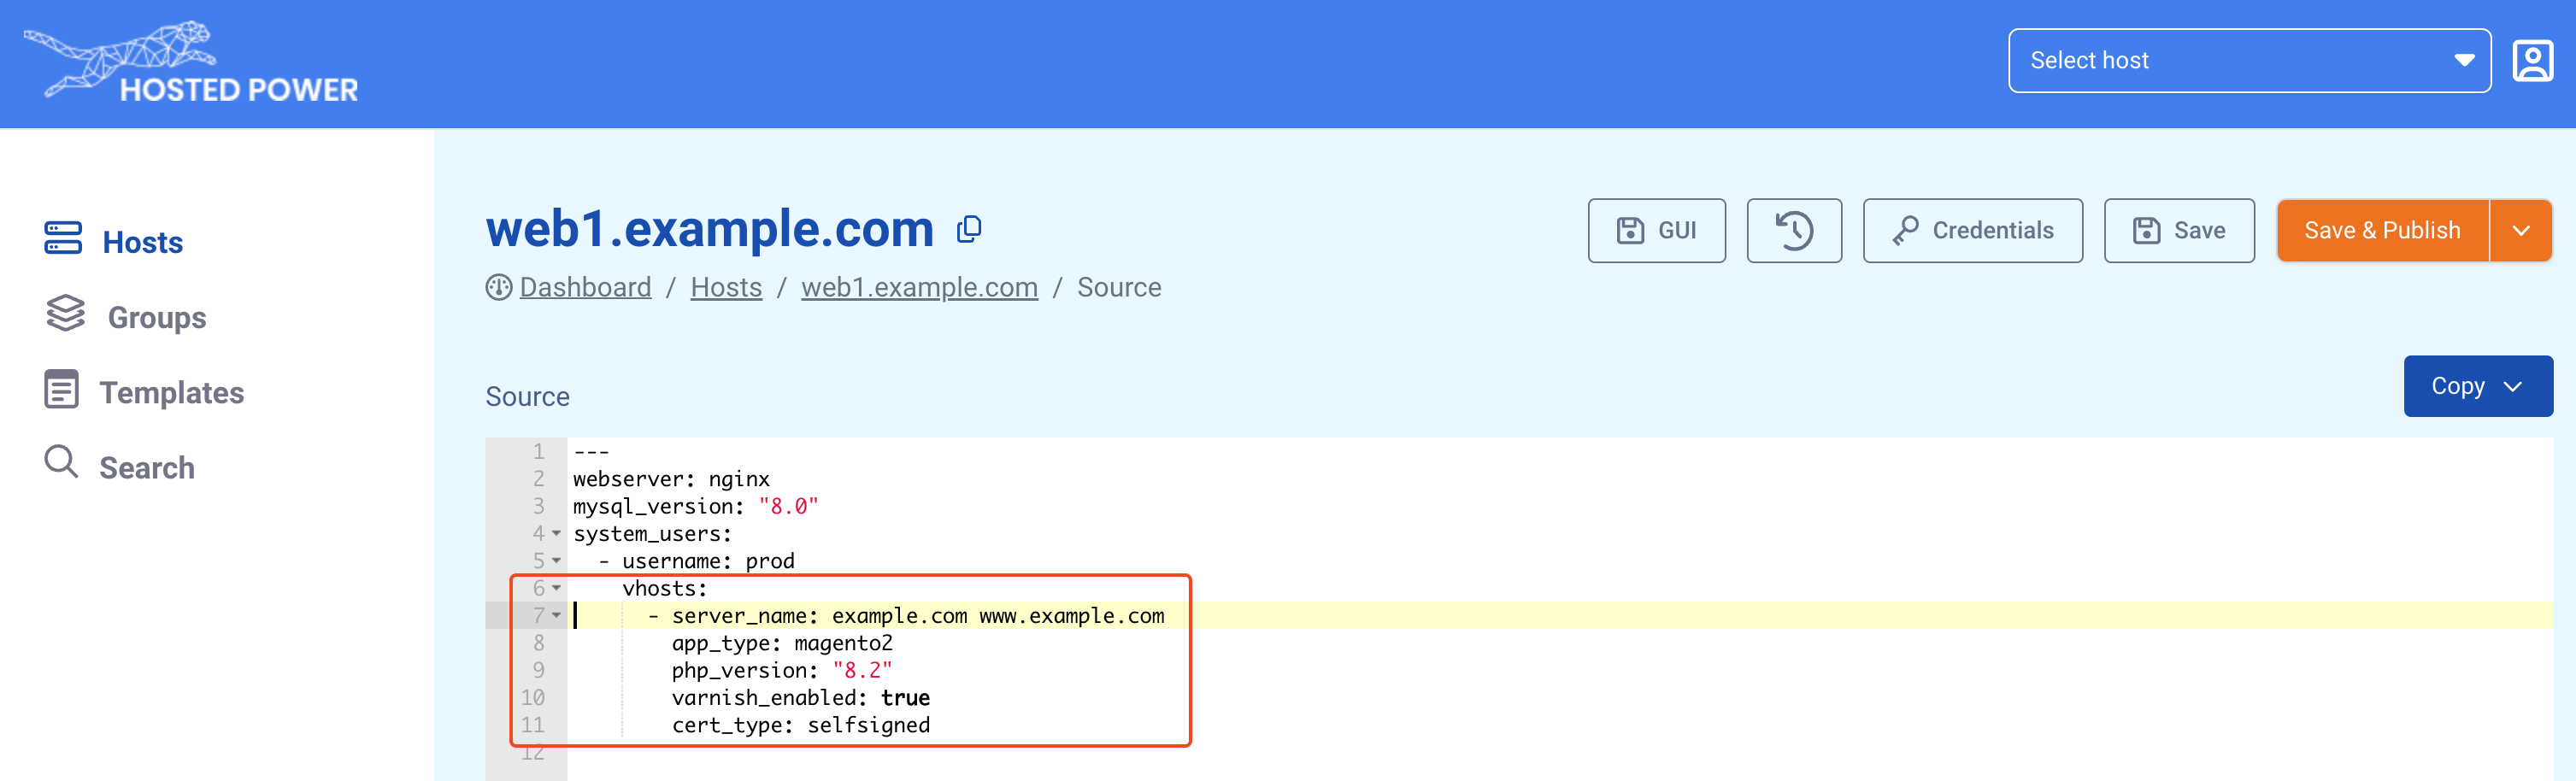
More info on using the YAML editor can be found here.